How to Grind Coffee Beans for Your Brew Method
By Hugo Coffee · Edited by Bryce Choquer · · 5 min read
Start coarse for French press, medium for drip or pour-over, and fine for espresso, then adjust for your equipment. AI-generated visual references, not measured coffee samples. These show relative texture; use your brewer and grinder instructions to choose a starting setting.
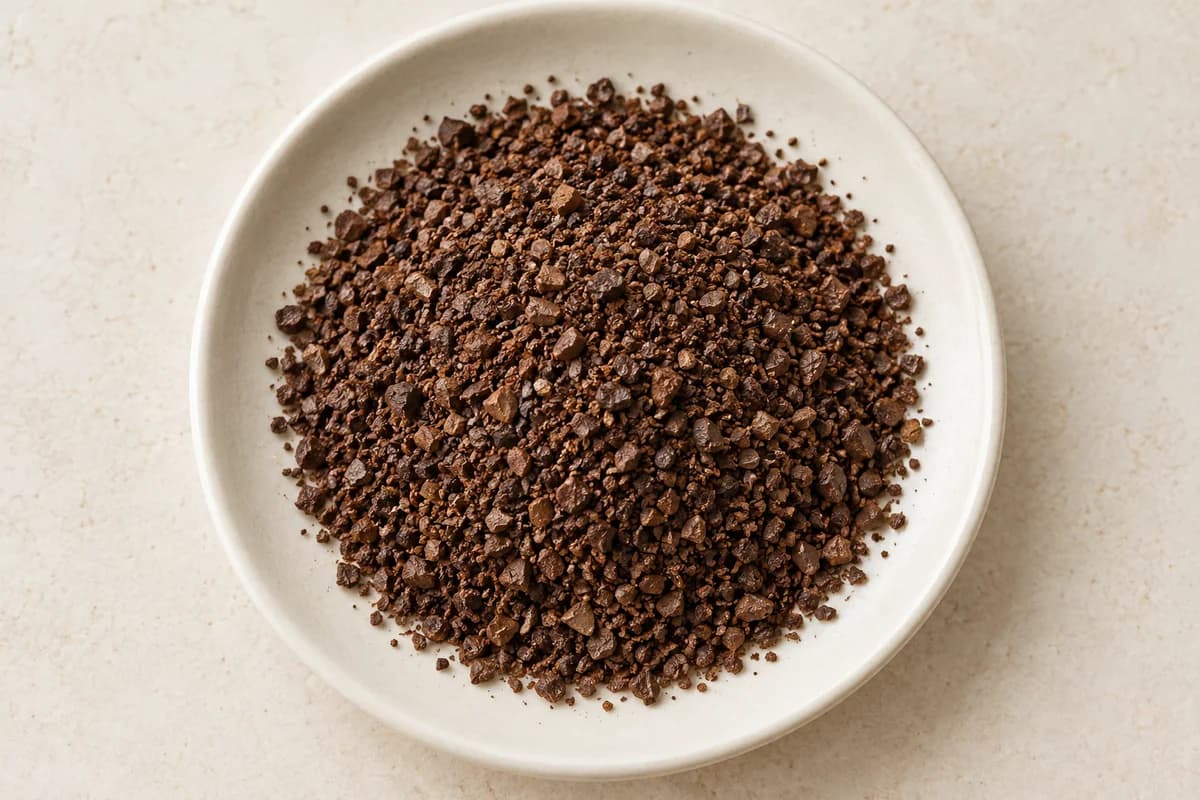
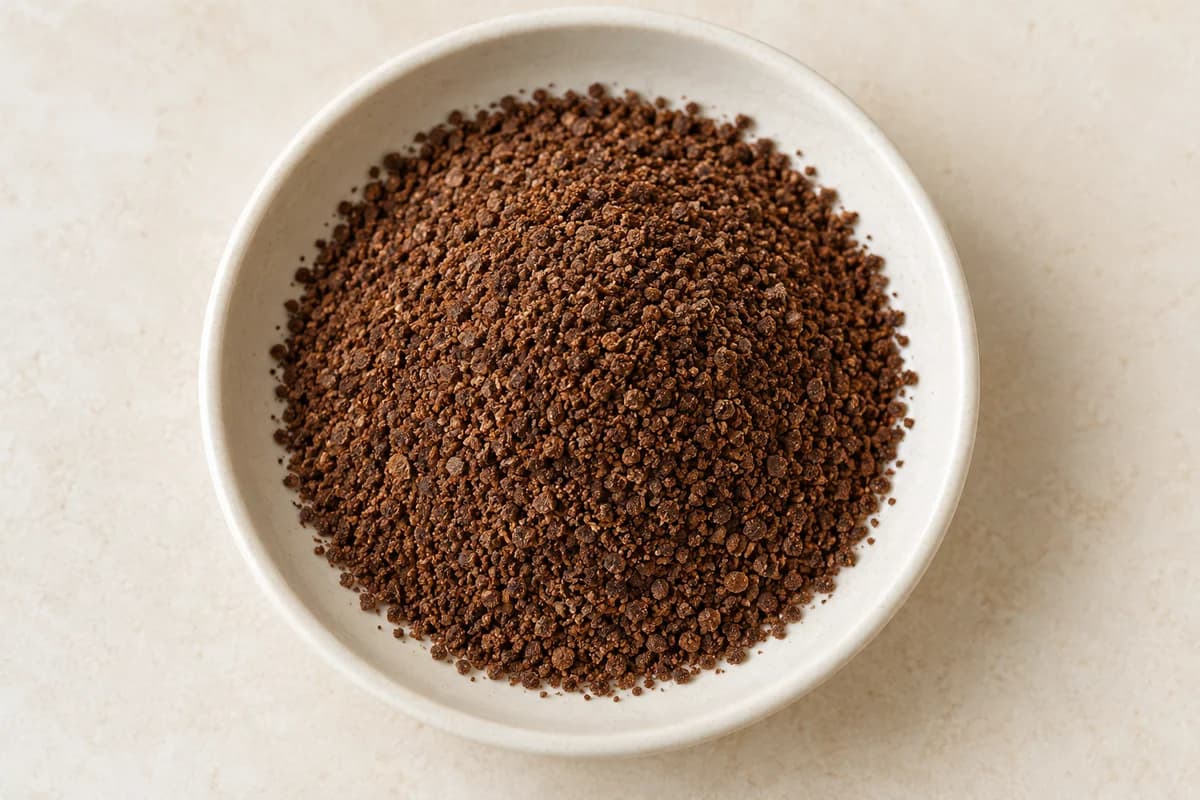
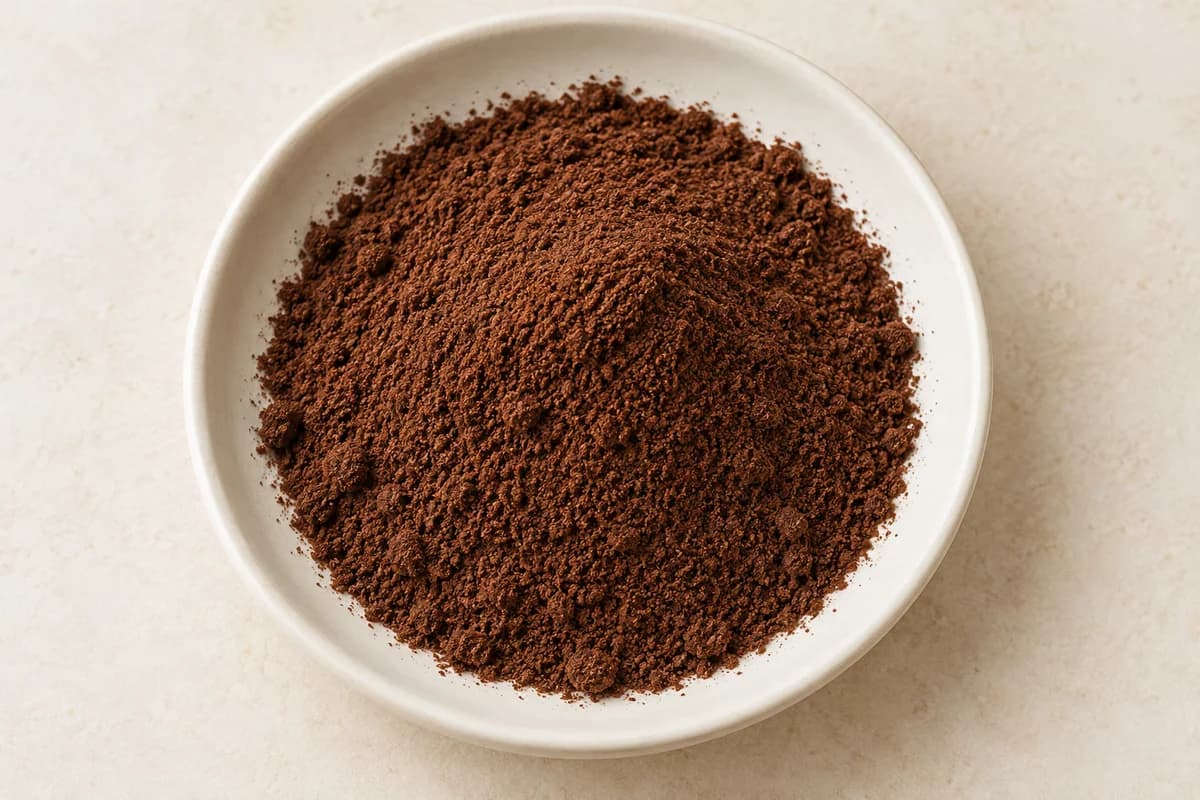
Choose your brew method, weigh the beans you need, and grind them just before brewing. Start in the range recommended for your brewer and grinder, then make small adjustments to the cup. A number on one grinder is not a universal setting for another.
Hugo sells whole-bean coffee, so grinding is part of the plan. The grown-ups handle the grinder. Hugo handles the early start.
Choose a grinder you can repeat
A burr grinder lets you adjust the gap between its burrs to change the grind. A blade grinder chops beans, with the result depending on how long it runs. The NCA's drip brewing guide describes burr grinders as the more consistent option and explains the limits of controlling a blade grind.
An adjustable burr grinder, whether hand-powered or electric, gives you a useful way to record a starting point. Check that its supported brewing range includes your method: a grinder suitable for filter coffee may not provide the fine adjustments your espresso setup needs. Follow its instructions for adjustment, capacity and cleaning.
Coarse: start here for French press
A coarse grind has visibly larger fragments than a medium or fine grind. The NCA's French press guide recommends coarse as the starting point, then adjusting to your taste. Use the brewer's recipe for the dose, water and steeping routine.
Do not force a resistant plunger. Follow your brewer's instructions, and assess the grind and filter condition before trying again. A visual reference can show relative texture, but it cannot tell you the exact setting your grinder needs.
Medium: start here for drip and pour-over
For automatic drip, begin at your equipment's filter-coffee recommendation. The NCA's drip guide uses medium as a starting range. For pour-over, its pour-over guide also begins at medium; your filter, brewer, batch size and pouring routine help determine the adjustment from there.
Keep your dose and water amount fixed while testing a small grind change. Watch how the brew flows as well as how it tastes. A slower brew does not automatically mean a better one, and a quick drawdown alone does not diagnose the cup.
Fine: start here for espresso
Espresso uses a fine grind as a starting point, as described in the NCA's espresso guide. Use the recipe and basket guidance for your own machine. Small grind changes can matter, so keep the dose and target beverage amount consistent while you learn what changes.
A pressurised basket and a conventional espresso basket may have different requirements. Check the machine instructions instead of copying another person's grinder number or assuming every fine-looking sample will work. The filter recipe below is not an espresso recipe.
Weigh a dose before you grind
For a simple filter starting point, our coffee ratio guide uses 14 g of coffee for 250 mL of brewing water. Weigh the beans, choose the grinder's suggested filter range, and grind that dose. If your grinder retains some coffee, follow its guidance and check the ground dose when recipe precision matters.
Put the rest of the beans away using our storage routine. Grinding the whole bag at once removes your ability to change its grind for tomorrow's brewer. Our whole-bean versus ground coffee guide explains the practical trade-offs.
Adjust one thing, then brew again
Grind affects how water flows through coffee and how flavour is extracted. Baratza's adjustment guidance recommends recording settings and making careful changes. Follow the adjustment procedure for your particular grinder, especially when moving finer with beans still inside it.
If a filter brew drains unusually slowly and tastes harsh, try one small coarser adjustment while holding your recipe steady. If it runs unusually quickly and tastes thin, try a small finer adjustment. These are experiments to compare, not diagnoses. A sour, bitter or weak cup can have more than one cause, including the coffee itself, water, dose, temperature or uneven brewing.
Write down the coffee, dose, water amount, setting and result. If an adjustment makes the cup worse, return to the previous setting. Check the brewer and grinder for cleaning needs before chasing every flavour change with another turn of the dial.
What if you only have a blade grinder?
Use its manufacturer's instructions, keep your dose consistent and make a note of the routine that gives you the most repeatable result. Expect a mix of particle sizes rather than a precise coarse, medium or fine setting. There is no reliable number of seconds that turns every blade grinder into an espresso grinder.
Keep hands and tools out of moving parts, and follow the appliance's instructions before cleaning or removing grounds. A manageable routine matters more than copying someone else's equipment.
Pick the coffee, then learn your setting
Tummy Time is Hugo's medium-dark roast and 4:40 AM is our dark roast. Both come as 340 g bags of whole beans. Neither needs a universal Hugo grinder number: choose your brewer's starting range and adjust for the cup you enjoy.
Compare both Hugo roasts, keep a small brew note, and make the next morning a little easier.
Share a good morning